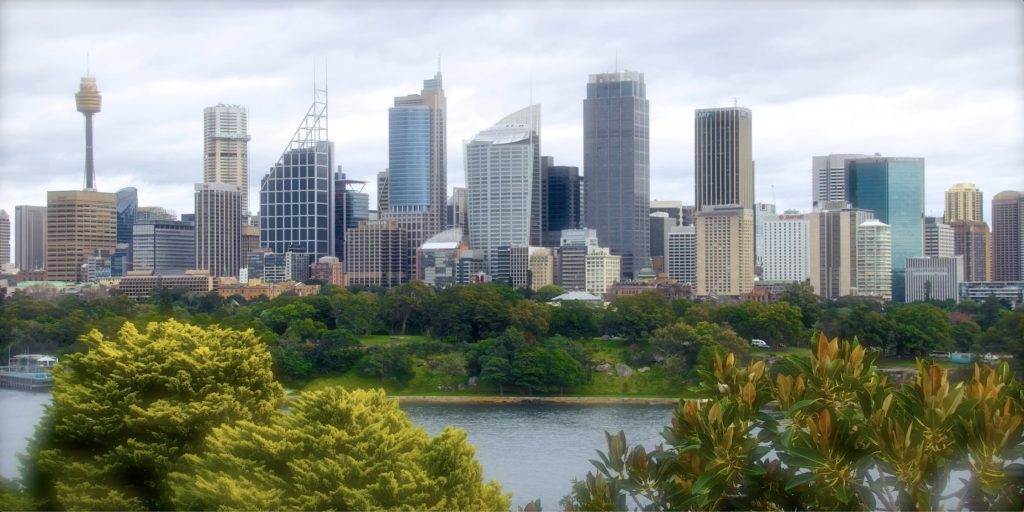
Davinci Resolveで黒の余白なくビデオを出力する方法
Youtubeに動画をアップする場合、無償で使える強力な編集ソフトとして、
DaVinci Resolve 15 があります。
(ダウンロードリンクは下記ページの最下部にあります。)
When you want to edit videos before uploading them to Youtube for example, you can use Davinci Resolve 15,
a powerful editing software that can be used free of charge.
(The download link is at the bottom of the page below.)
https://www.blackmagicdesign.com/jp/products/davinciresolve/
DaVinci ResolveインストールしてYoutube用のムービーを書き出しした際にはまった箇所があり、その解決方法をシェアしたいとおもいます。
トラブルとしては、解像度を指定してビデオを書き出したかったのですが、出力した映像に下記のような上下に黒い帯が入ってしまうというケースです。
When I uploaded a movie to youtube after editing it with DaVinci Resolve, I found an issue and I would like to share the way i solved it.
The issue was that I wanted to export a video with a specified resolution, but there was a case where black bands would appear at the top and bottom of the output video as shown below.
調べた結果、プロジェクトセッティングの解像度の設定が適切でなかったのが原因でした。
I noticed that the resolution setting in the project settings was not correct.
解決方法と手順を下記に記します。
※今回は問題を再現する為にイレギュラーな解像度(2048×1023)のイメージを利用しています。
Here is the solution I found.
※I used an image with an irregular resolution (2048×1023) to reproduce the issue.
1.タイムラインに配置されているフッテージ素材の解像度を確認します。
Check the resolution of the footage material placed on the timeline.

2.File>Project Setting…を開きプロジェクトの解像度を設定します。
File>Project Setting… and set the resolution of the project.
3.Timeline resolutionをCustomに変更して、解像度を素材の解像度と同じに(2043x1023px:ご自身の状況に応じて変更してください。 )設定します。
Change the timeline resolution to the same resolution than the material(2043x1023px in that example. set your own resolution that you want to).
4.Davinci Resolve下の方のDeliverタブ(➀)をクリックしてビデオの出力設定を開きます。
②Individual Clipsを選択
③Videoタブを選択
④出力フォーマットを選びます。
⑤Render at source resolution を選択します。
Click the Deliver tab under Davinci Resolve window(➀) to open the video output settings.
②Go to Individual Clips
③Select the video tab
④then set the output format
⑤and select the Render at source resolution option
上記の設定が終わったら、Add to Render Queueボタンを押して、
レンダーキューに追加して、レンダーを行います。
Finally press the Add to Render Queue button.
以上で下記のような余白がないビデオが出力が可能となります。
You should now be able to output the video correctly.


